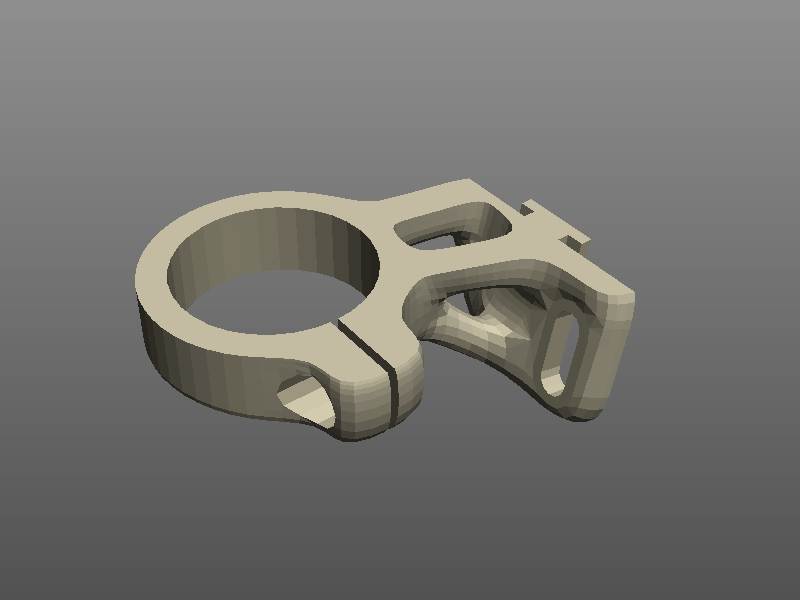
Chainguide Prototypes, part 3
First prototype worked well for almost two years. Until one huge crash when chain come off and got jammed between chainring and guide cage. My leg was scratched and I was angry at myself for this stupid fall. Instead of inspecting the bike I've just tried to continue the ride. And as soon as I've pushed with all my weight on the pedal, I've heard a loud crackle. Guide clamp was broken.
Replacement clamp was designed for extrusion-type 3d printer. Such printers are much cheaper and more common then laser-sintering machines. And it was possible to find one in my town so a whole chain guide repair was over in one day.

But extrusion 3d printing has a lot of limitations compared to selective laser sintering. Model should include base surface on which it will stand during printing (flat top side on above screenshot in my case). Hanging parts require additional supporting structures which should be cut after printing. And biggest problem was a precision: parts at the bottom of the model came out thicker and all holes came out smaller than designed.
A lot of filing, cutting, drilling was necessary to connect newly printed clamp to the old cage.
Test rides didn't show any differences from first version. Everything worked well as was designed. But a desire to make something completely new was getting stronger every day. And soon, Ultralight has arrived.
blog comments powered by Disqus