Chain Guide Assembly Instructions
Prerequisites
Selective laser sintering has amazing precision but it's still not enough for super-fine details like screw threads. So you'll need two metric M5 nuts and screws.
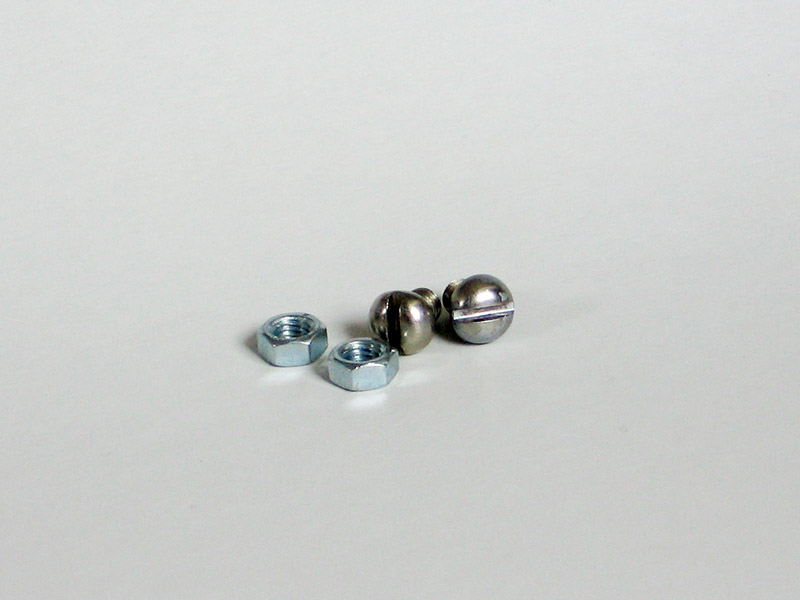
Usually both can be found in your local hardware store. Nuts should be M5 DIN 934 hex nut, 4 mm thick, those are most common.
Screws should be M5 with 10 mm thread length and 8.5 mm (or less) head diameter. DIN 84 are ideal. Or you can use disc brake rotor screws from you local bicycle shop, just make sure that it's heads isn't too big.

You can use almost any nut and screw material. Stainless are fine, but you also can get alloy or nylon nuts and screws and get assembled chain guide weight below 15 g!
Assembly
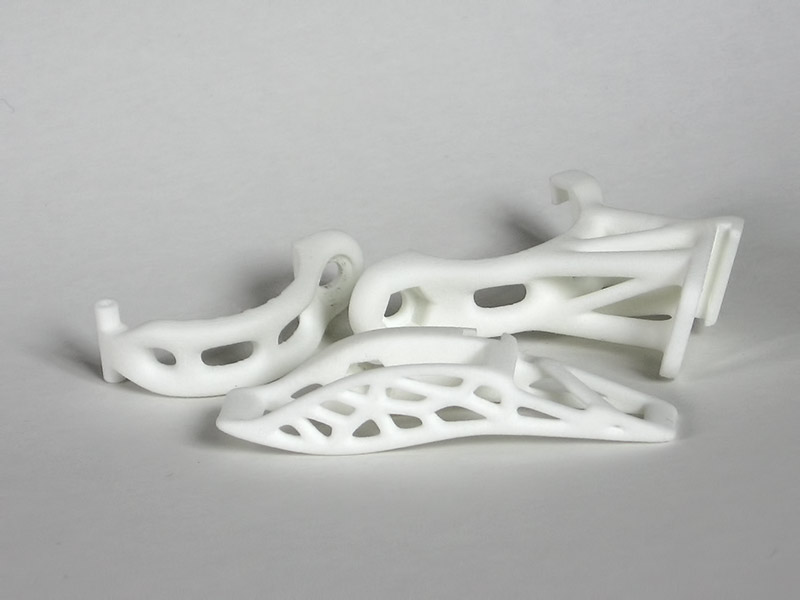
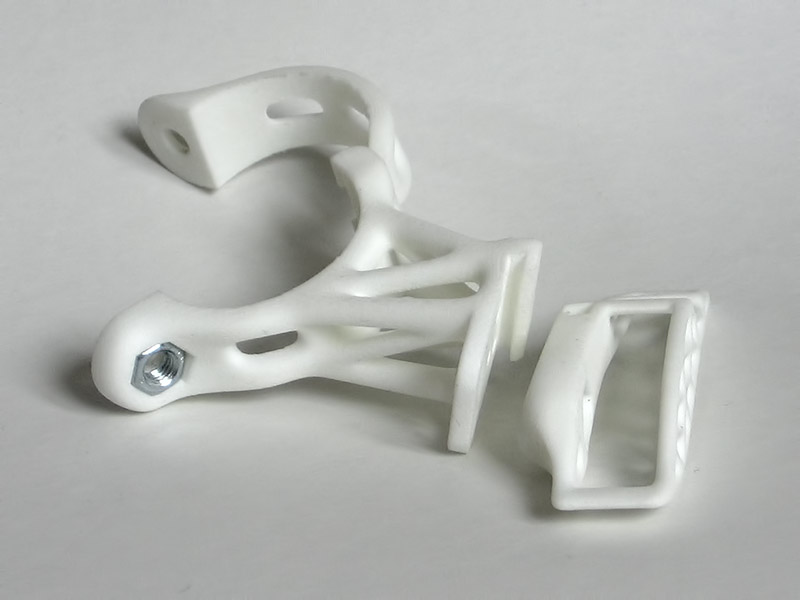
So here are 3d printed plastic parts you've received from Shapeways. At this stage you can paint it into your favorite color. Or leave it to be pure white:
Now you should install the nuts into corresponding sockets in the chain guide clamp and the cage. Take a nut and push it into clamp socket:

It's designed to be a tight fit so you might need to use a screw and a screwdriver to pull the nut into its socket:
The nut is in place:
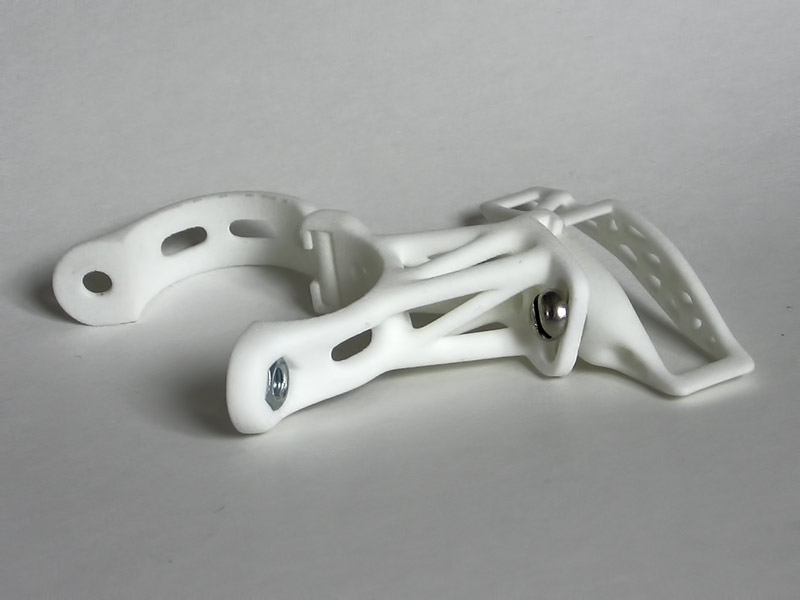
Get a second part of the chain guide clamp. It has a hinge joint:
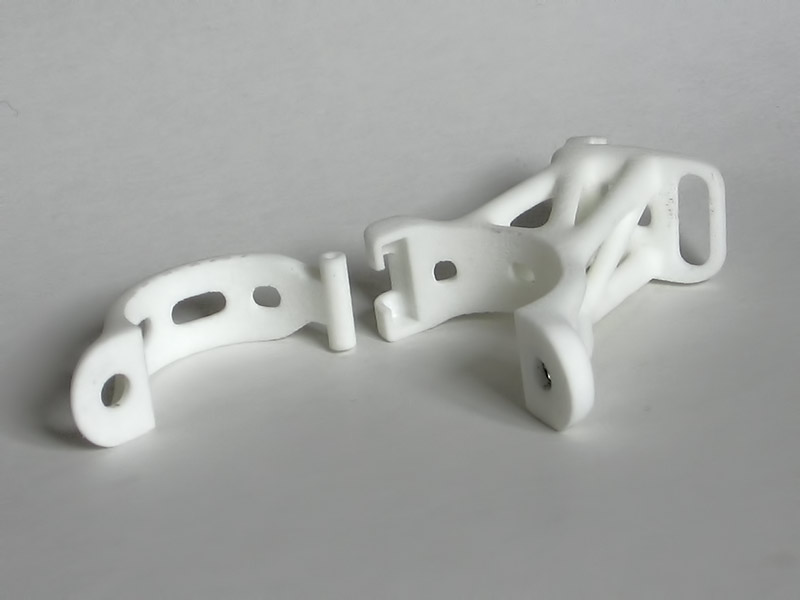
Push a hinge cylinder into corresponding socket:
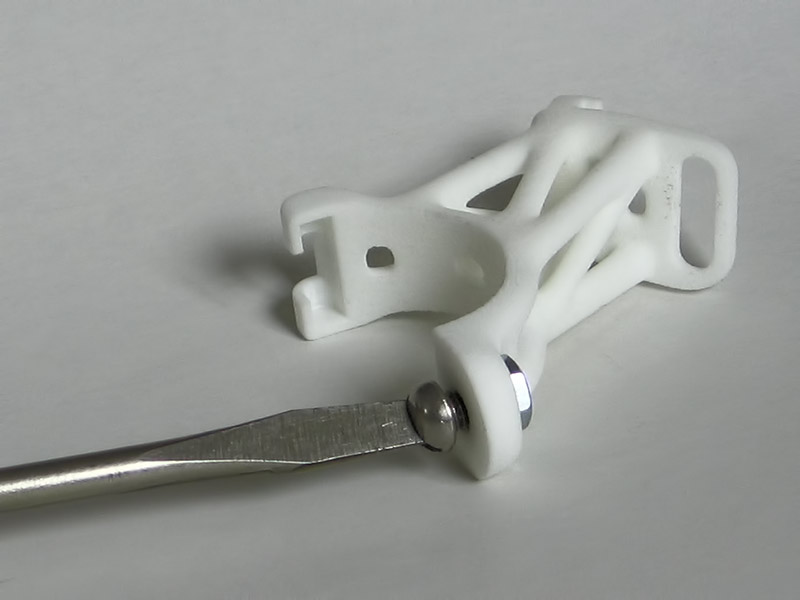
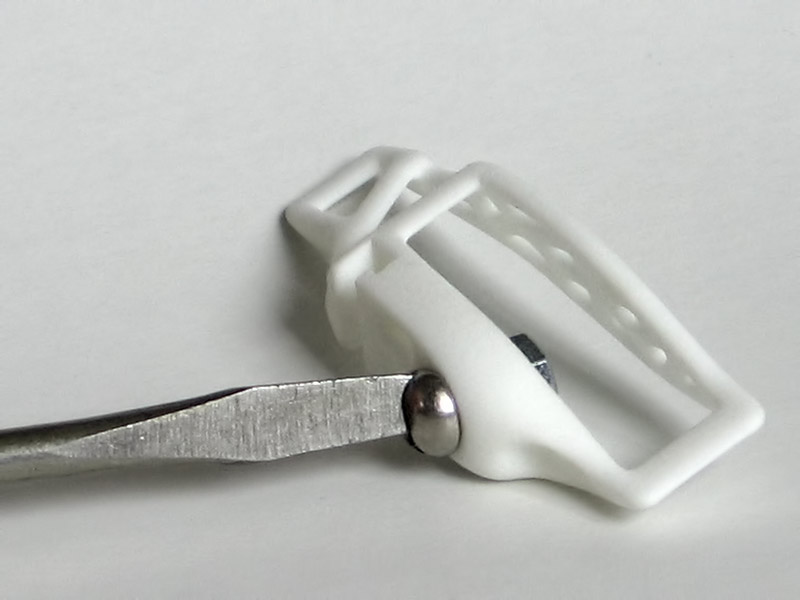
Let's now get to the cage. Place another nut into the cage socket:

Again, use a screw and a screwdriver to pull it in place:
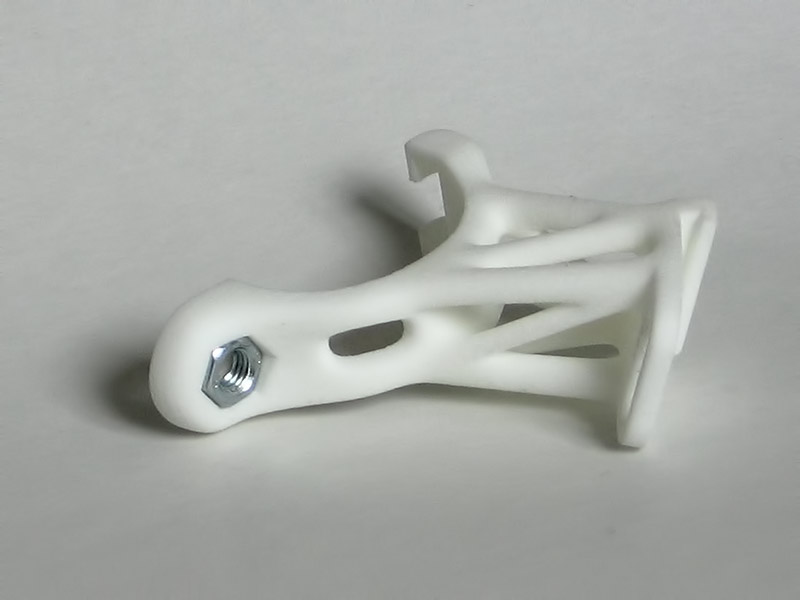
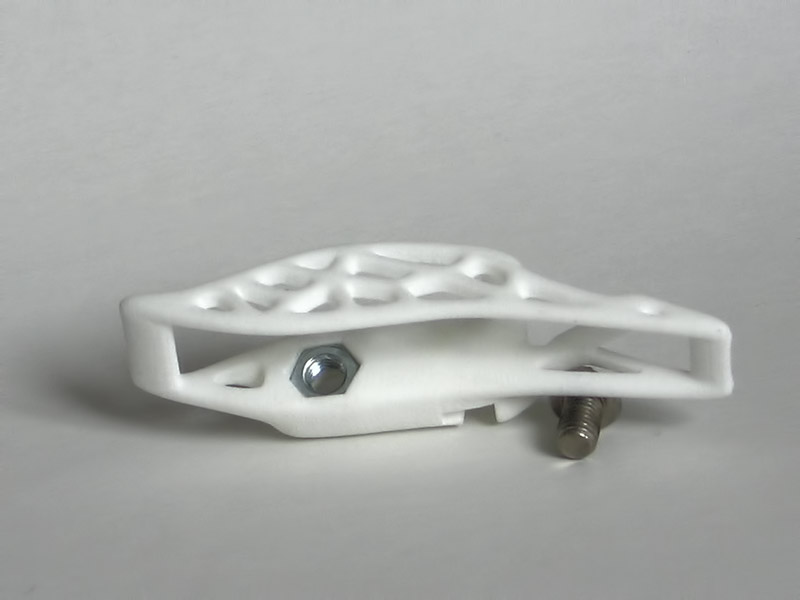
Chain guide cage with installed nut:
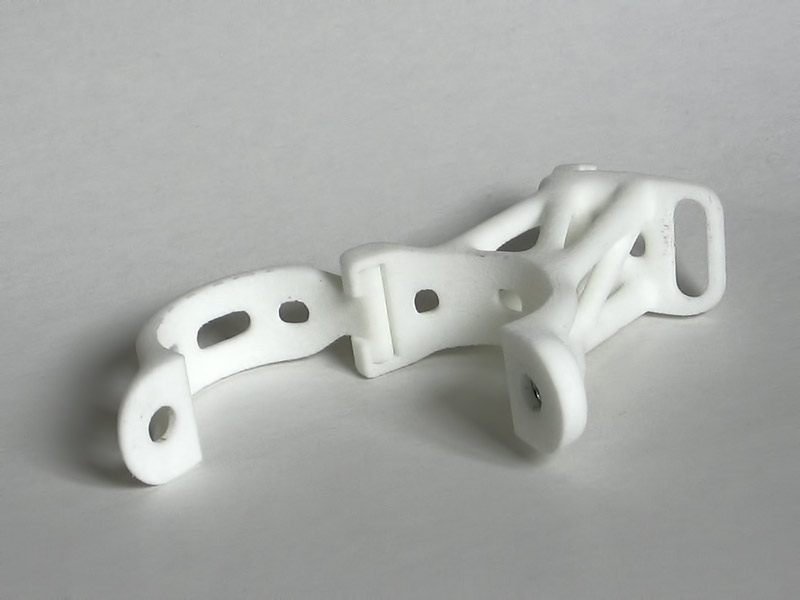
There is a sliding joint between chain guide cage and a clamp:
This joint is tilted to provide cage adjustment to the chainline. Connect the cage to the clamp and use a screw to secure it:
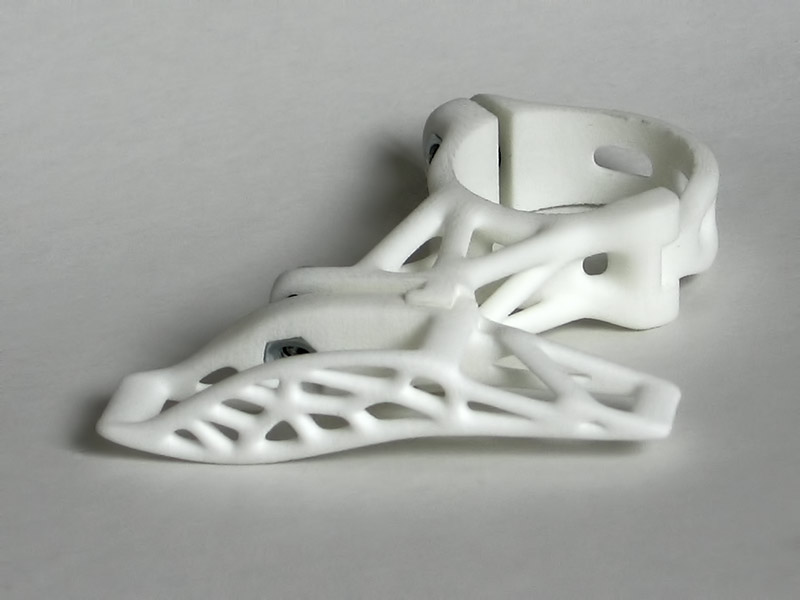
Assembled chain guide:
Setup
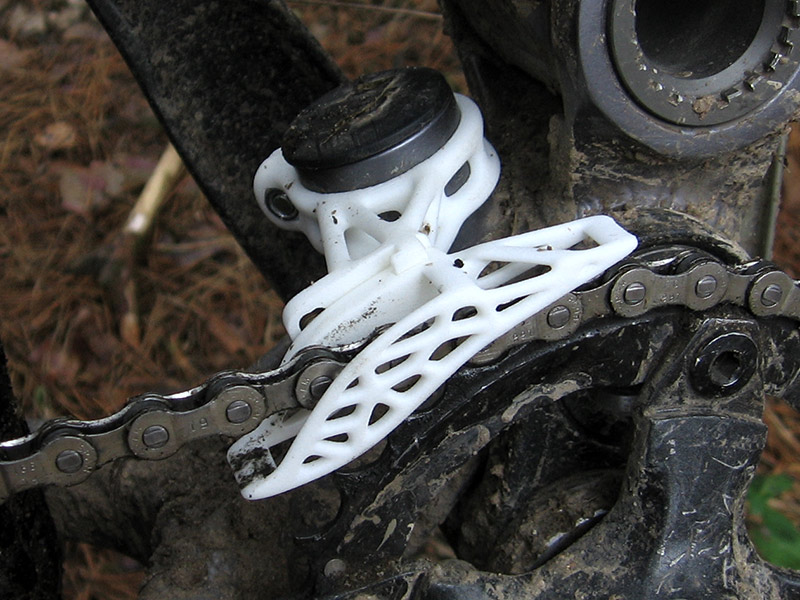
Now go to the bike and remove a chain. Fasten your assembled chain guide on your bike set tube, just in place of a front derailleur. Loosen the cage-clamp slide screw and adjust cage position so your chainring will be just in the middle of the cage. After that adjust chain guide height by moving the clamp higher or lower on the seat tube. And finally install back your chain passing through the cage. Go ride your bike and have fun!
After all it should look like this:
blog comments powered by Disqus